


[HOW TO FLASH] how to flash AMIKO Viper 4K
The Amiko Viper 4K (the original model in this series) is a robust HiSilicon-based receiver. For your enigma2.net readers, its important to clarify that this model uses the Maintenance Mode (Recovery Menu) to safely manage its multiboot slots.
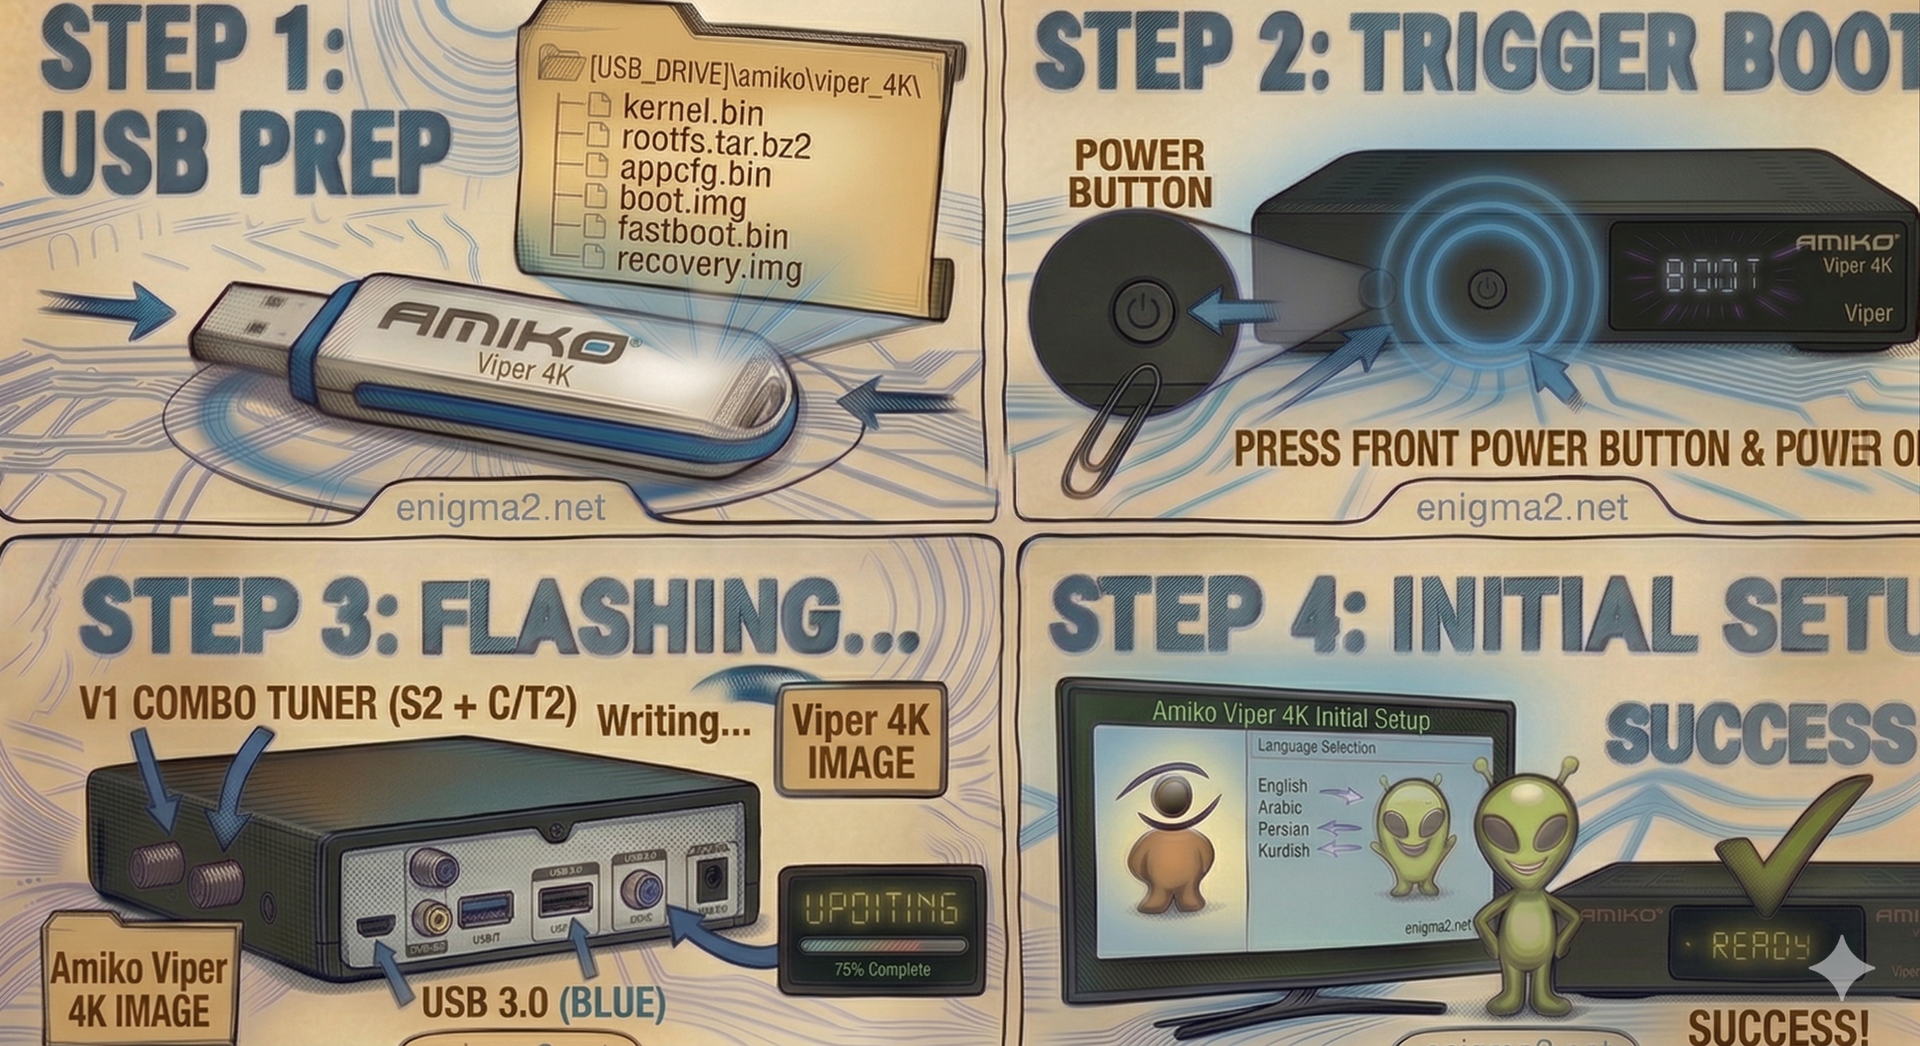
Step 1: USB Preparation
- Format: The USB drive must be formatted to FAT32. A high-quality USB 2.0 or 3.0 stick is recommended.
- The File: Download the recovery or mmc zip file specifically for the Amiko Viper 4K (e.g., OpenATV 7.x).
- Target Path: Copy the .zip file directly to the root directory of your USB drive. Do not unzip it.
Step 2: Accessing the Recovery Menu
- Power Off: Turn off the receiver using the physical power switch at the back.
- Insert USB: Plug the drive into the USB 3.0 (blue) port on the side or rear.
- The Trigger:
- Press and hold the Power Button on the front panel.
- While holding it, flip the rear power switch to ON.
- Keep holding the front button until the Maintenance Mode (Recovery) menu appears on your TV screen.
Step 3: Flashing the Image
- In the menu, select Flash local image.
- Navigate to your USB drive and select the .zip file you just copied.
- Select a Slot: You have 4 Multiboot slots available (Linux 1, 2, 3, or 4).
- Select Linux 1 for your primary image.
- Select another slot if you want to test a new image while keeping your current one safe.
- Confirm the flash and wait for the Flashing progress bar to reach 100%. Once completed, select Boot and choose the slot you just updated.


 Reply With Quote