


[HOW TO FLASH] how to flash AMIKO Viper 4K V30
The Amiko Viper 4K V30 is another HiSilicon-based 4K powerhouse in the Amiko lineup. For your readers on enigma2.net, its important to highlight that this model also utilizes the Recovery Menu system, which is the safest way to manage its multiboot capabilities without risking a brick.
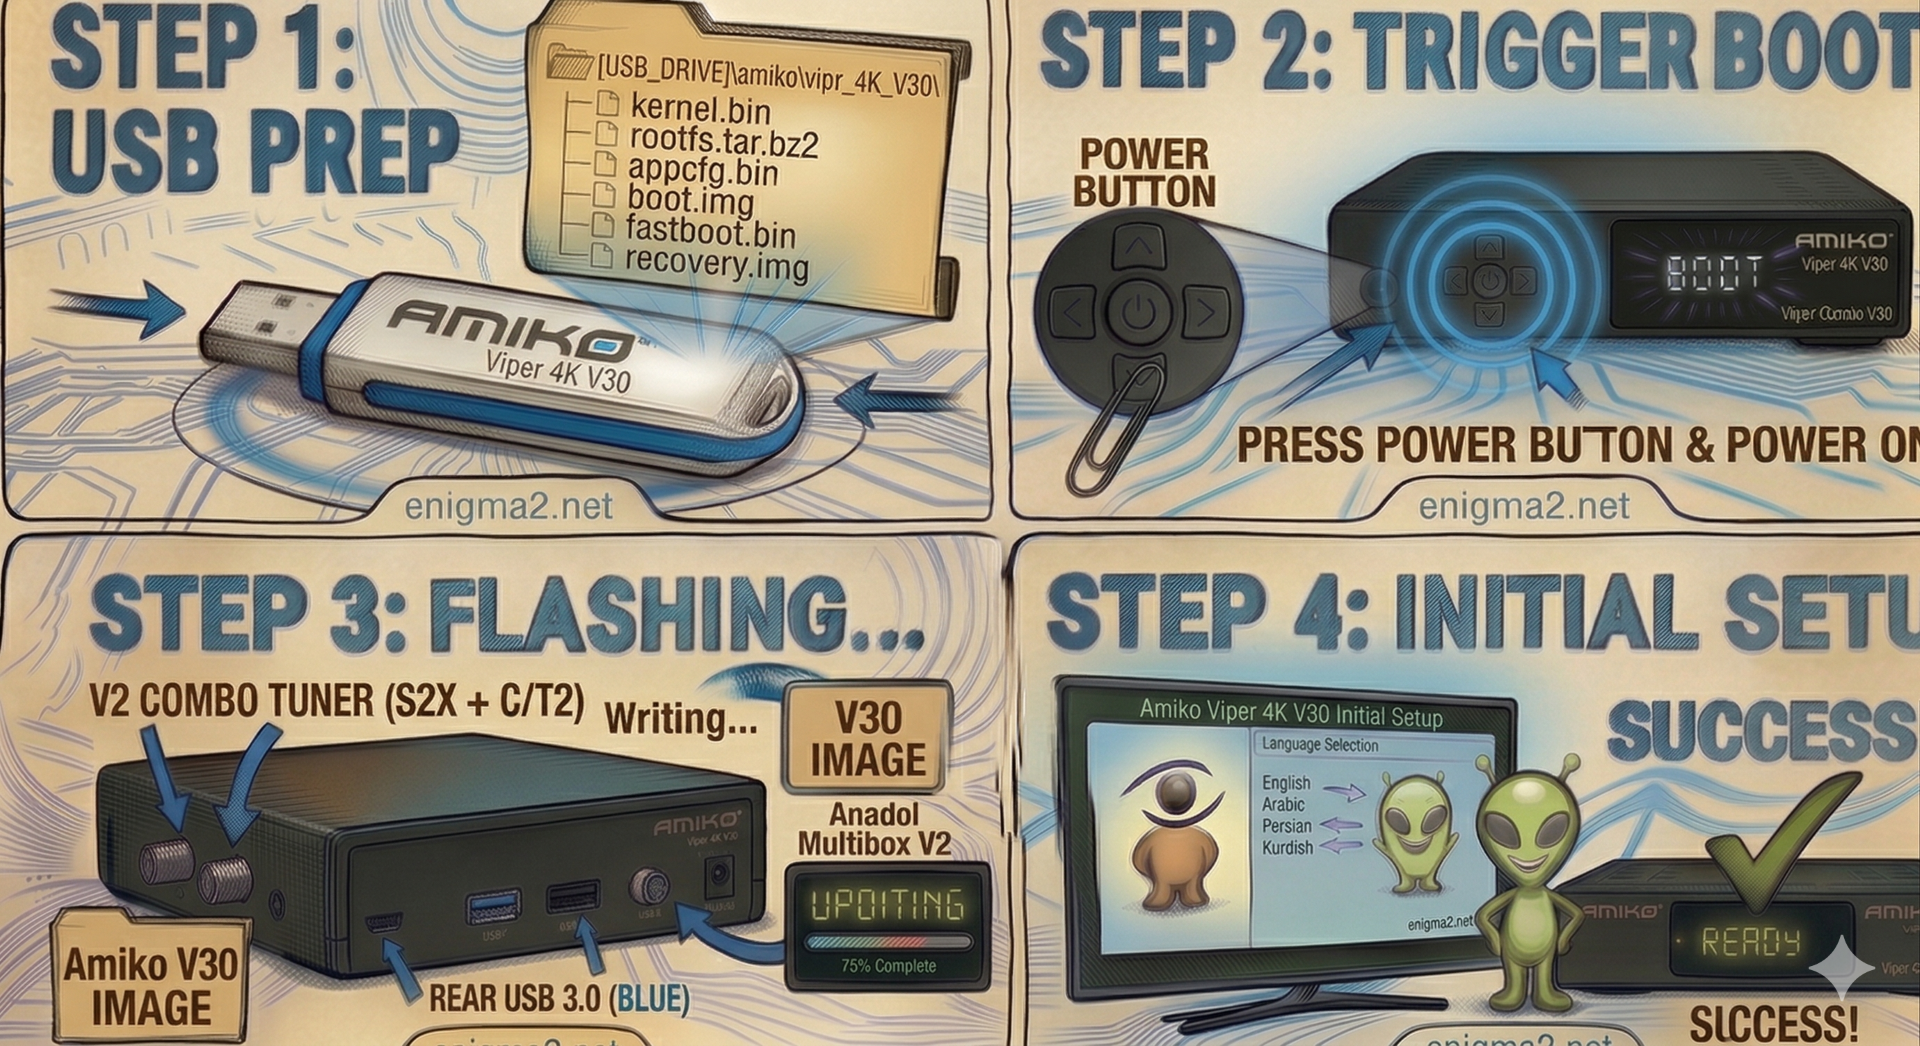
Step 1: USB Preparation
- Format: The USB drive must be formatted to FAT32. Use a reliable USB 2.0 or 3.0 stick.
- The File: Download the recovery or mmc zip file specifically for the Amiko Viper 4K V30 (e.g., OpenATV 7.x).
- Target Path: Copy the .zip file directly to the root directory of your USB drive. Do not unzip it.
Step 2: Accessing the Recovery Menu
- Power Off: Turn off the receiver using the physical power switch at the back.
- Insert USB: Plug the stick into the USB 3.0 (blue) port on the side of the unit.
- The Trigger:
- Press and hold the Power Button on the front panel.
- While holding it, flip the rear power switch to ON.
- Continue holding the front button until the Maintenance Mode (Recovery) menu appears on your TV screen.
Step 3: Flashing the Image
- In the menu, select Flash local image.
- Navigate to your USB drive and select the V30 .zip file.
- Select a Slot: You have 4 Multiboot slots available (Linux 1, 2, 3, or 4).
- Select Linux 1 to overwrite your main image.
- Select another slot to test a new image while keeping your current setup safe.
- Confirm the flash and wait for the progress bar to reach 100%. Once finished, select Boot and choose the slot you just updated.


 Reply With Quote